Frontal Projection
The basics
Texture Files
Frontal projection is a great way to add 3D models to a detailed back drop image and extremely fast to render
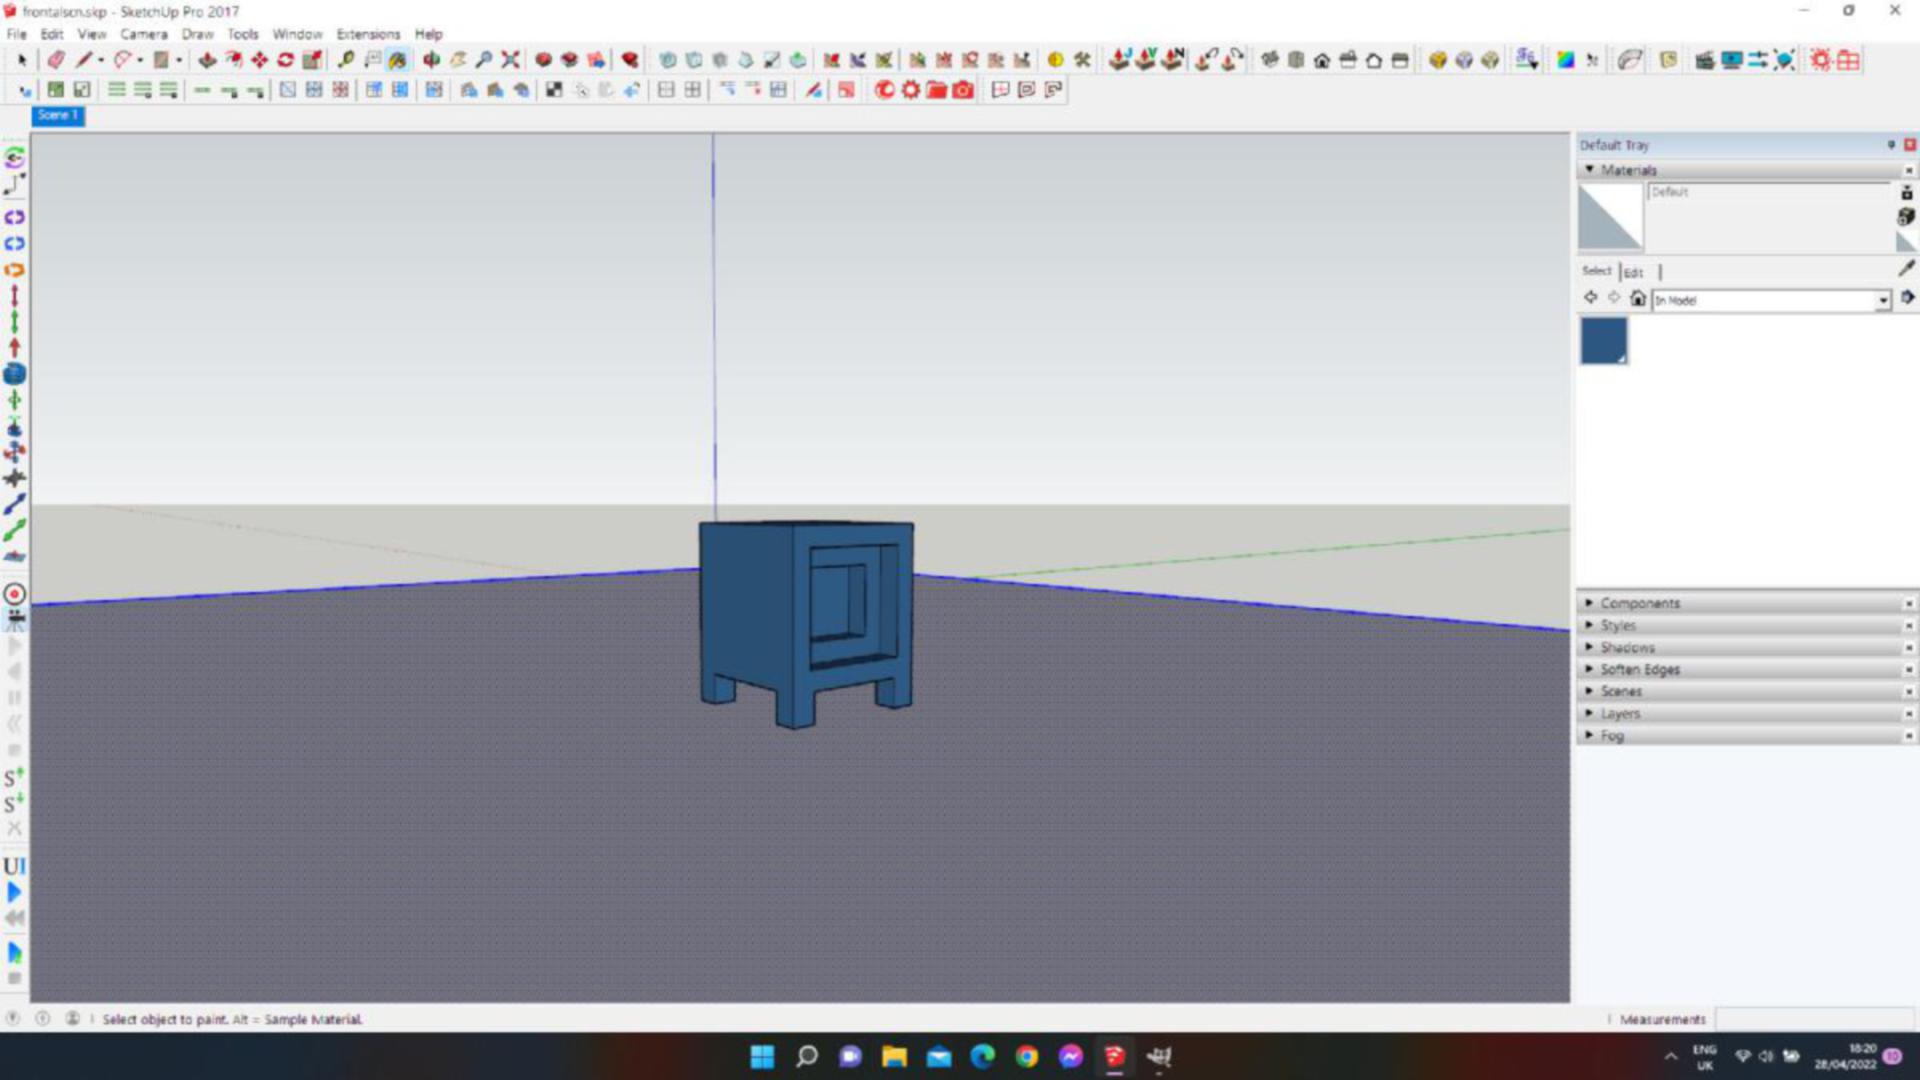
Create a plane in Sketchup, this will be the model that we will use to project the image on.
The size of the plane depends on the background image that is being use, it comes down to blending the background with the plane, the bigger it is the easier it is to blend.
Place the detailed model on the plane.
Adding the ibl image
Select the 'Enviroment' tab in the tools panel and click on the 'IBL' icon and add the 'light.exr' image to the first property 'Illumination'', and check the checkbox.
Run IR and use the rotation property to make the IBL map match the image on the plane
Make sure the sun is turned off
Add the background
Staying in the Enviroment tab add the background image 'scene.png' into the 'Background' settings
Set the 'Wrapping' to 'Fit'
With IR running, adjust the 'Intensity' so the background brightness matches the floor plane
That's all there is to it... but what if we need more.....
Complete scene
Creating a mask
Mask Files
A mask is a simple black and white image, the white area outlines the tiled area of the floor.
This scene was created in 3D so I used a normal channel pass edited in Gimp to create the mask.
to make the transistion between black and white less obvious I feathered and expanded the black into the white.
Adding the mask
Select the material icon in the 'tool panel' and add the mask norm2.jpg into the basic mask slot.
Change the projection to 'Front'
If you do a test IR render you will notice the wrong part is maskde on the floor plane, I had a brain fart and and and did the mask wrong, simply invert the texture in the 'Tone Mapping' properties.
Run IR and the floor should render black, feathered at the edges
Website by Nigec Designs © 2010-2021 Nigec Designs.


